
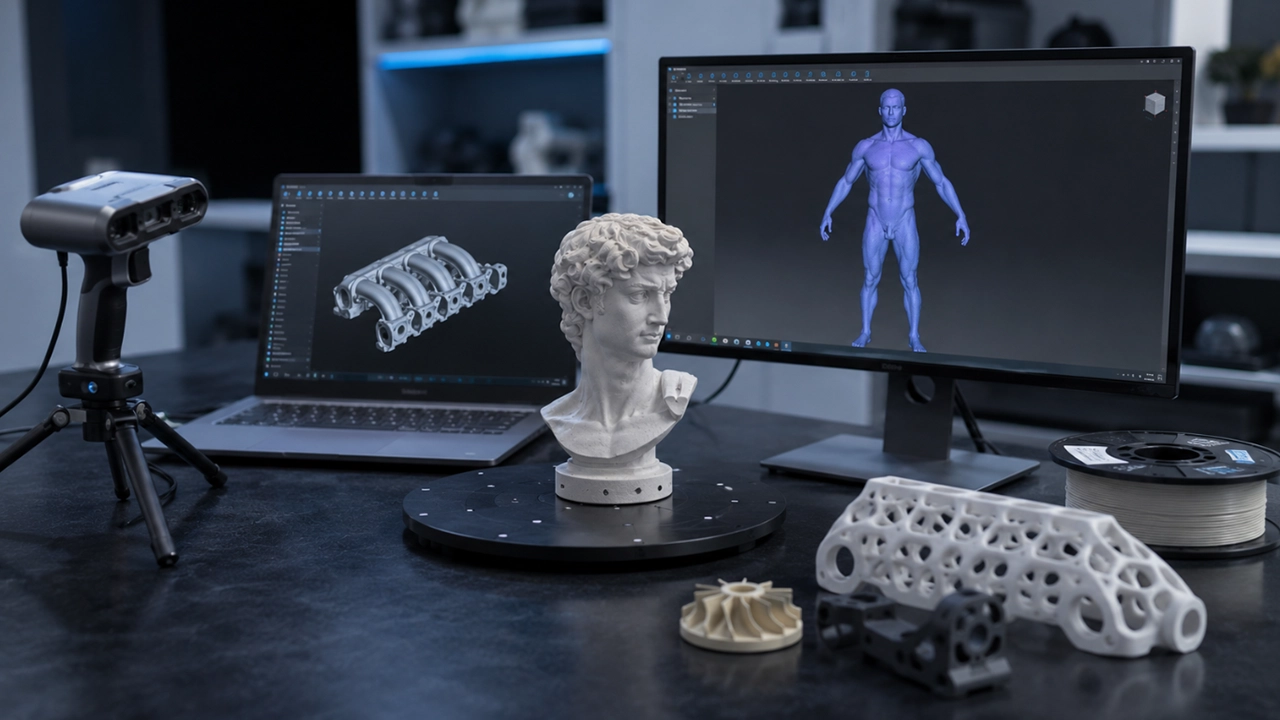
Every 3D printing project starts with a digital model—but what if the object you want to print already exists in the real world? Whether it’s a broken appliance part, a treasured collectible, or a handmade prototype, you don’t always need to design it from scratch.
That’s where 3D scanning comes in.
Modern 3D scanners make it possible to capture the shape, size and even the texture of physical objects, turning them into editable digital models that can be repaired, modified or printed. Once considered expensive equipment reserved for industrial use, 3D scanners have become far more accessible, giving hobbyists, makers, educators and professionals an entirely new way to approach design and manufacturing.
In this guide, we’ll explain how 3D scanning works, explore the different scanning technologies available, and help you decide whether investing in a 3D scanner is the right choice for your workshop.
What Is 3D Scanning?
3D scanning is the process of capturing the geometry—and often the colour and texture—of a real-world object and converting it into a digital 3D model.
Instead of measuring every dimension manually or recreating an object from scratch in CAD software, a scanner records the object’s shape and builds a highly detailed digital representation. Once the scan is complete, the model can be cleaned up, edited if necessary, and exported as a file ready for slicing and 3D printing.
Think of it as taking a photograph, but instead of capturing a flat image, you’re capturing the object’s complete shape and dimensions.
3D scanning is commonly used for:
- Replacing broken or discontinued parts
- Reverse engineering existing components
- Creating custom products
- Preserving artwork and historical artefacts
- Designing cosplay props and accessories
- Producing personalised figurines and gifts
As scanners continue to improve, they’re becoming an increasingly valuable companion to a 3D printer.
How Does 3D Scanning Work?
Although the technology behind 3D scanning is incredibly advanced, the process is surprisingly straightforward. Different scanners use different methods to measure an object’s surface, but the goal is always the same: accurately recreate the object as a digital model.
Here are the three most common scanning technologies you’ll come across.
Blue Laser Scanning
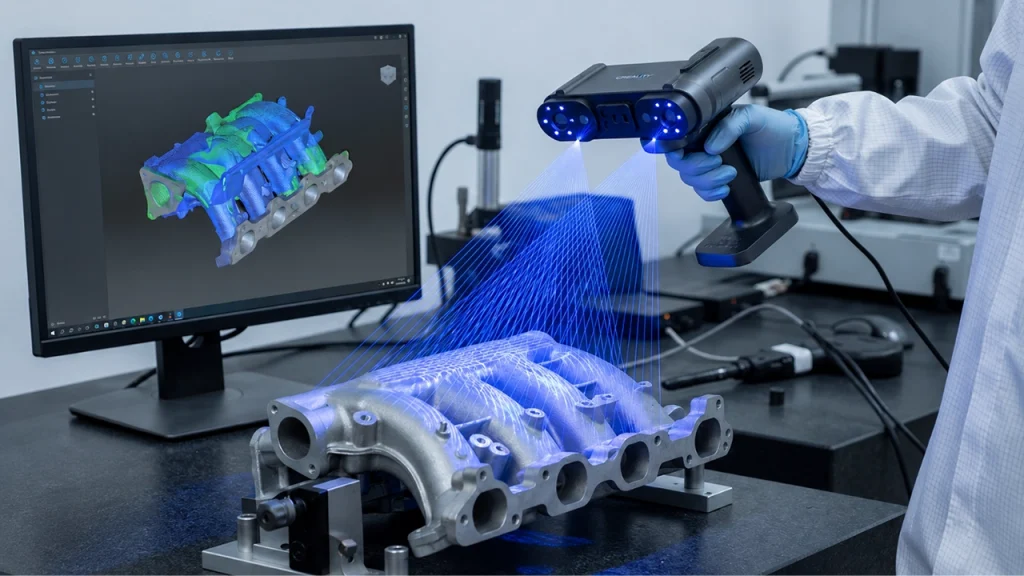
Blue laser scanners project multiple laser lines across an object’s surface while built-in cameras monitor how those lines bend and shift.
Using this information, the scanner calculates thousands of precise depth measurements to create an exceptionally accurate 3D model.
Because of its outstanding precision, blue laser technology is commonly used for:
- Reverse engineering
- Mechanical components
- Product development
- Manufacturing
- Quality inspection
If dimensional accuracy is your highest priority, blue laser scanning is often the best choice.
Near-Infrared (NIR) Scanning
Near-infrared (NIR) scanners use infrared light instead of visible lasers to capture an object’s geometry.
This technology offers several advantages. It generally performs better on darker surfaces, is comfortable for scanning people, and works well for capturing faces, figurines and everyday household objects.
Many popular handheld scanners, including the Creality CR-Scan Ferret Pro, use NIR technology because it provides an excellent balance between accuracy, speed and ease of use.
Hybrid Scanning
Some advanced scanners combine both blue laser and NIR technology in a single device.
This allows the scanner to switch between scanning methods depending on the object and environment, delivering the best possible results across a much wider range of materials.
If you regularly scan different types of objects, a hybrid scanner offers exceptional flexibility.
Photogrammetry
Dedicated scanning hardware isn’t the only way to create a 3D model.
Photogrammetry uses dozens—or even hundreds—of photographs taken from different angles. Specialised software analyses the images and reconstructs the object’s shape.
The advantage is that you only need a camera, but there are a few trade-offs:
- Processing takes considerably longer.
- Good lighting is essential.
- Reflective or transparent objects are more difficult to capture accurately.
- More manual work is usually required.
For most beginners and enthusiasts, a dedicated handheld scanner offers a much faster and more user-friendly experience, with real-time feedback while you scan.
What Can You Scan?
One of the biggest surprises for newcomers is just how versatile 3D scanning can be.
Spare Parts
Need to replace a broken bracket, knob or housing that’s no longer available? Instead of attempting to measure every dimension by hand, you can scan the original part and use it as the basis for a replacement.
Reverse Engineering
Many products don’t come with original CAD files. Scanning allows you to capture the geometry of an existing component before refining or redesigning it in CAD software.
Product Design
Designers often begin with handmade concepts, foam models or clay prototypes. Scanning these physical designs creates a digital starting point that can be refined much more quickly than recreating everything manually.
Figurines and Collectibles
Collectors and hobbyists frequently use scanners to duplicate, restore or preserve miniatures, sculptures and decorative pieces.
People and Faces
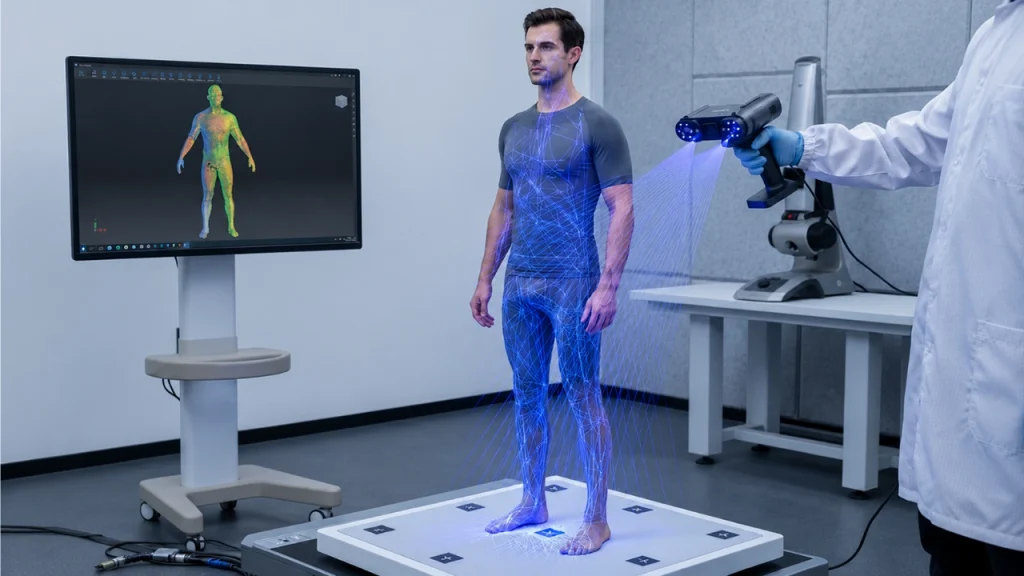
Modern scanners are capable of safely capturing facial features and body shapes for projects such as:
- Custom figurines
- Cosplay accessories
- Medical and orthotic applications
- Personalised gifts
Art and Heritage
Museums, artists and educational institutions use 3D scanning to digitally preserve sculptures, carvings and historical artefacts while minimising handling of fragile originals.
Which Objects Are Difficult to Scan?
Although today’s scanners are remarkably capable, some materials remain more challenging than others.
These include:
- Glass
- Transparent plastics
- Highly polished metals
- Chrome finishes
- Very shiny surfaces
- Extremely dark objects
These materials either reflect or absorb light in ways that make accurate measurements more difficult.
Fortunately, many users overcome this by applying a temporary scanning spray or matte developer powder, giving the scanner a surface that’s much easier to capture.
Generally speaking, matte objects with plenty of visible detail produce the best scanning results.
The Typical Scan-to-Print Workflow
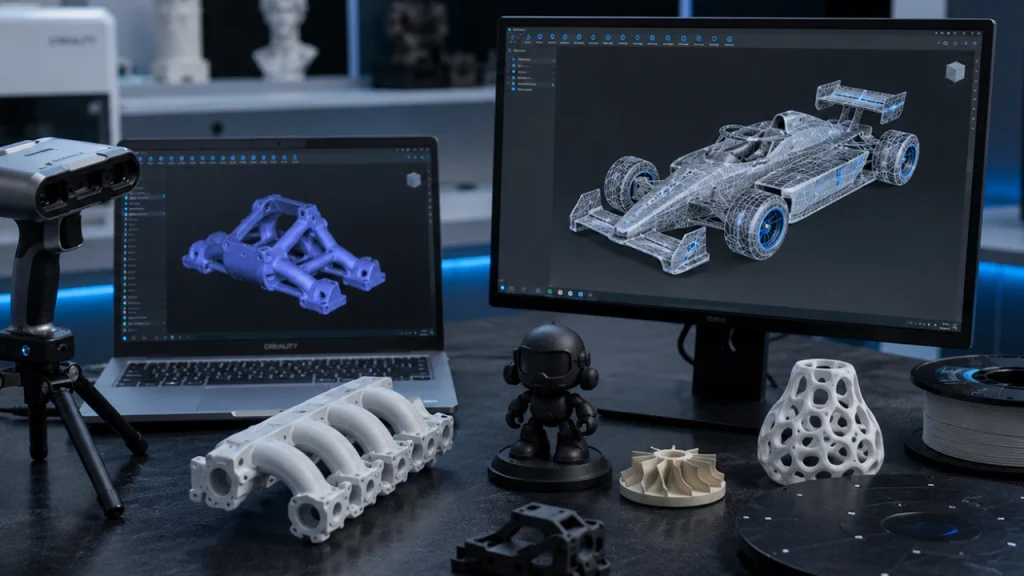
Turning a physical object into a printable model usually follows five simple steps.
1. Scan the Object
Move the scanner slowly and steadily around the object, ensuring every surface is captured.
For smaller items, a rotating turntable can make the process much easier while improving scan consistency.
2. Process the Scan
The scanner’s companion software combines multiple scan passes into a single digital mesh.
This stage aligns all the captured data and generates the first complete version of your model.
3. Clean Up the Mesh
Most scans require a little post-processing.
You’ll typically remove unwanted background data, fill small holes, smooth rough areas and eliminate any scanning artefacts before exporting the finished model.
4. Refine the Model
If your project requires exact measurements, perfectly flat surfaces or detailed mechanical features such as threads or mounting holes, you’ll usually import the scan into CAD software for further refinement.
Many professionals use scanned models as highly accurate references rather than final production files.
5. Slice and Print
Once your model is ready, export it as an STL or OBJ file, prepare it in your preferred slicer, choose your print settings, and print it just like any other 3D model.
What Should You Look for in a 3D Scanner?
Not every scanner is designed for the same type of work, so it’s worth considering your needs before making a purchase.
Accuracy
Accuracy is typically measured in microns or fractions of a millimetre. If you’re producing engineering components or performing reverse engineering, higher accuracy is essential. For decorative models or hobby projects, slightly lower accuracy is often perfectly adequate.
Scan Volume
Think about the size of the objects you’ll be scanning. Some scanners are ideal for desktop-sized items, while others are designed for larger objects such as furniture, vehicles or even full-room scans.
Colour Capture
Some scanners record full-colour textures as well as geometry. This feature is particularly useful for artwork, figurines and heritage preservation, although it may not be necessary if you’re only interested in printing the object’s shape.
Portability
Wireless handheld scanners provide significantly more flexibility than fixed desktop systems, especially when scanning large or awkwardly positioned objects.
Is a 3D Scanner Worth It?
For many makers, absolutely.
If you regularly recreate physical objects, repair discontinued parts, develop prototypes or perform reverse engineering, a 3D scanner can save countless hours of measuring, modelling and trial-and-error.
Rather than spending an afternoon recreating a complex component manually, you can begin with an accurate digital scan in a matter of minutes.
However, if your focus is primarily on designing completely original models, investing time in learning CAD software may offer greater value than purchasing a scanner.
The good news is that the two technologies complement each other perfectly. Many experienced makers use scanning to capture existing objects before refining and improving them in CAD.
Final Thoughts
3D scanning bridges the gap between the physical and digital worlds, opening up exciting possibilities for hobbyists, professionals and businesses alike.
Whether you’re replacing a broken part, preserving a family keepsake, developing a new product or creating a one-of-a-kind project, modern scanners make it easier than ever to transform real-world objects into printable digital models.
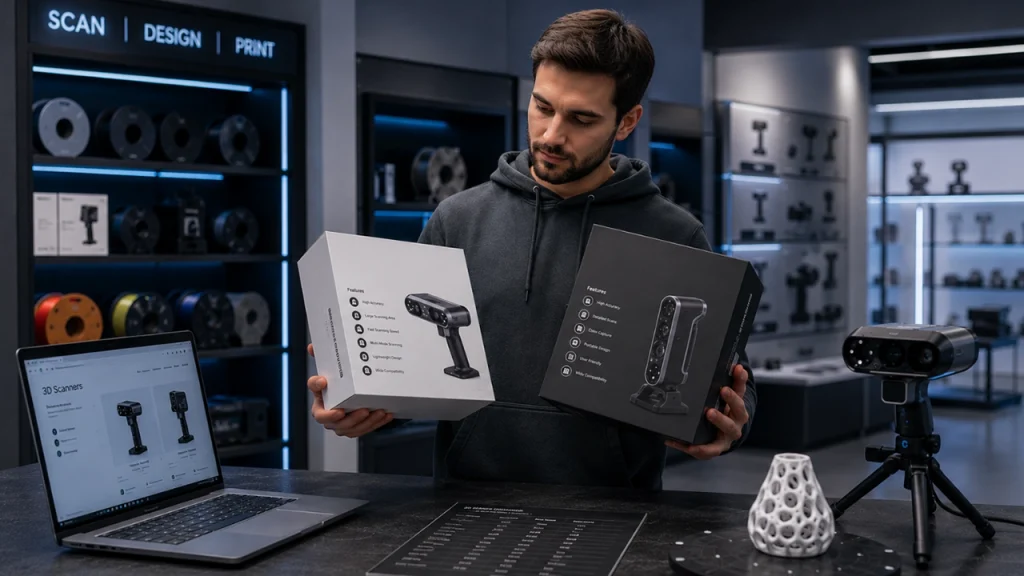
At 3D Print Lab, we stock a range of Creality 3D scanners to suit every experience level and budget. From the compact Creality CR-Scan Ferret Pro for quick handheld scans to advanced models designed for demanding reverse engineering and professional applications, you’ll also find useful accessories such as turntables and tripods to make scanning even easier. Have a look through our 3D Scanners range to find the right fit for your project and budget.
If you’re ready to take your 3D printing projects to the next level, adding a 3D scanner to your workflow could be one of the smartest investments you make, opening up a whole new world of creativity, repair and innovation.
