
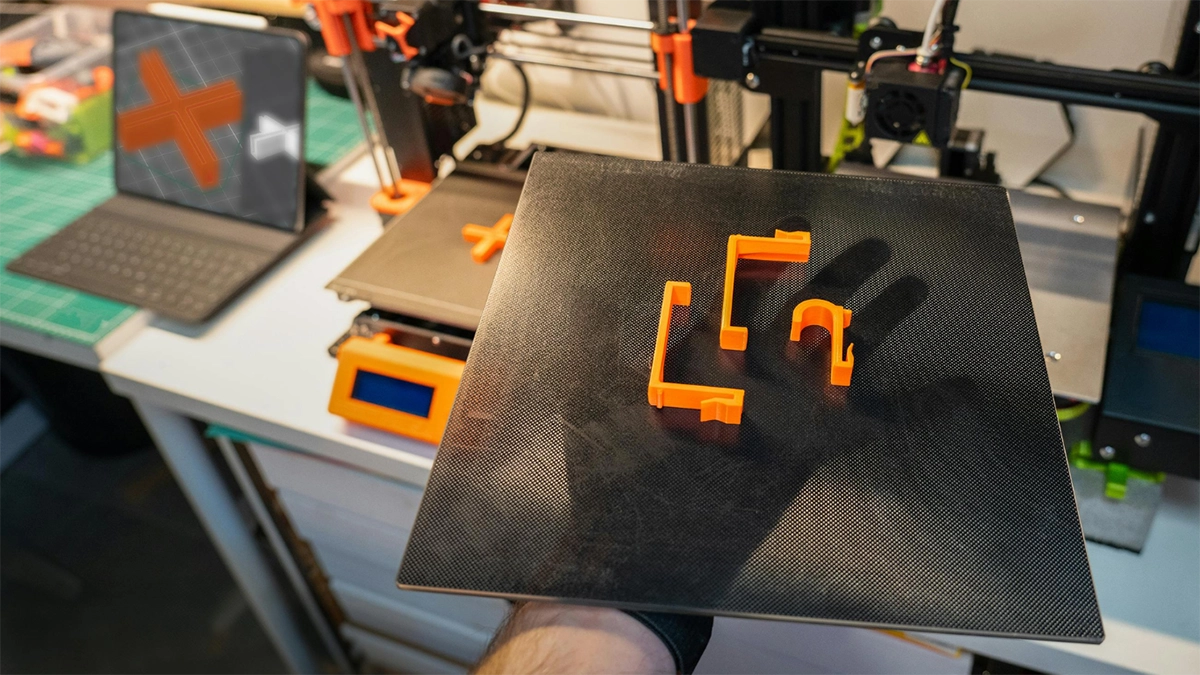
3D printing has opened up an exciting world of possibilities for designers, hobbyists, and businesses. But here’s the catch – even the best printer can’t deliver great results if the model itself hasn’t been properly prepared. That’s where 3D model preparation for 3D printing comes in. Whether you’re a beginner just getting started or an experienced maker fine-tuning your workflow, careful preparation can mean the difference between a failed print and a professional-quality result.
In this guide, we’ll walk through the essential steps of preparing a model, highlight common pitfalls, and share practical tips to achieve optimal printing results.
Why Model Preparation Matters
When you prepare a model for 3D printing, you’re essentially getting it ready to be understood by the printer. 3D printers don’t “see” models the way humans do—they interpret them as a series of instructions. If your model has flaws, like holes, fragile areas, or unsupported parts, your printer may struggle, leading to wasted filament and disappointing results.
By taking the time to clean up your design and double-check critical aspects, you’ll save money, reduce frustration, and improve your chances of print success.

Step 1: Clean Up Your Geometry
Every successful print starts with solid geometry. Look out for issues like duplicate faces, intersecting surfaces, or gaps that can confuse your printer. Geometry cleanup is a simple but vital step to ensure your model is watertight and ready for slicing.
- Watertight mesh: Make sure your model has no holes or gaps. A watertight design ensures the printer knows what’s inside and outside the model.
- Non-manifold edges: These occur when parts of the model don’t connect logically (for example, edges that don’t join properly). Fixing these prevents slicing errors later on.
Most 3D modelling software has built-in tools to check for these errors, so run a quick scan before exporting.
Step 2: Check Wall Thickness
One of the most common beginner mistakes is overlooking wall thickness. If walls are too thin, they may not print at all or could break easily. If they’re too thick, you’ll use more material than necessary and increase print time.
As a rule of thumb:
- Minimum wall thickness for PLA: around 1.2mm.
- For stronger parts, increase thickness to 2–3mm.
Always consider the function of your part—if it’s purely decorative, thinner walls may be fine, but if it needs to withstand stress, thickness is key.
Step 3: Plan Orientation and Supports
How you position your model on the build plate affects both quality and speed. Orientation optimisation reduces the need for supports and improves surface finish.
- Flat surfaces down: Place the largest, flattest area of your model on the build plate to maximise stability.
- Supports: Use support structures for overhangs greater than 45°. Supports prevent sagging but may leave marks when removed, so use them only where necessary.
- Optimised orientation: Changing the angle of your model can also reduce weak points caused by layer lines.
Step 4: Consider Size and Weight
Before hitting print, think carefully about size considerations and weight distribution. Large prints may need to be split into smaller parts and assembled later, while uneven weight can cause prints to topple during the process.
- Escape holes: If your design is hollow, include escape holes to allow trapped resin or unused powder to drain. This is especially important in SLA or SLS printing.
- Thickening fragile parts: Delicate features like antennae, handles, or thin spikes often break. Strengthen these areas slightly without compromising design.
Step 5: Export in the Right Format
Once your design is ready, save it in a file type your slicer can understand. Common export formats include:
- STL – the most widely used, great for most printers.
- OBJ – useful if you’re working with multiple colours or textures.
- 3MF – a newer format that stores more data, including materials and print settings.
Always double-check your export scale to avoid a mini version (or a giant one) of your intended model.
Step 6: Slice and Preview
Before printing, run your model through slicing software. The slicer translates your design into instructions for the printer.
- Use the slicer preview to identify issues before committing to a print.
- Adjust settings like infill density (solid vs. hollow), supports, and print speed.
- Higher infill means stronger prints, but also longer times and more material use.
This stage is where experienced makers really fine-tune their workflow to balance quality, strength, and efficiency.
FAQs About Model Preparation
- Why do I need a watertight mesh?
Because your printer needs to know what’s solid and what’s empty. If the mesh isn’t watertight, the printer may create holes or misinterpret the shape. - What’s the best infill density?
It depends on the purpose. Decorative items can use 10–20%, while functional parts may need 50% or more. - Which format should I export to?
STL works in most cases, but use 3MF if you want to preserve extra data like colour or multiple materials. - Can I print without supports?
Yes, but only if your design doesn’t include steep overhangs. Clever orientation can reduce or eliminate the need for supports.
Final Thoughts
Good printing starts long before you press the start button. Careful 3D model preparation for 3D printing helps ensure smoother workflows, less waste, and more reliable results. Whether you’re fixing a non-manifold edge, checking wall thickness, or tweaking your slicer preview, each step contributes to a better final print.
At 3D Print Lab, we’ve seen how these small adjustments make a big difference. If you’re looking for expert help, inspiration, or simply want to see what’s possible with professional-grade printing, explore our resources and services today. Let’s turn your ideas into prints that shine.
